
Gate Won't Latch or Close? Fixing Sagging, Dragging and Gapped Gates
By Tony Pellicone14 min readPublished
- gates
- fence repair
- homeowner guide
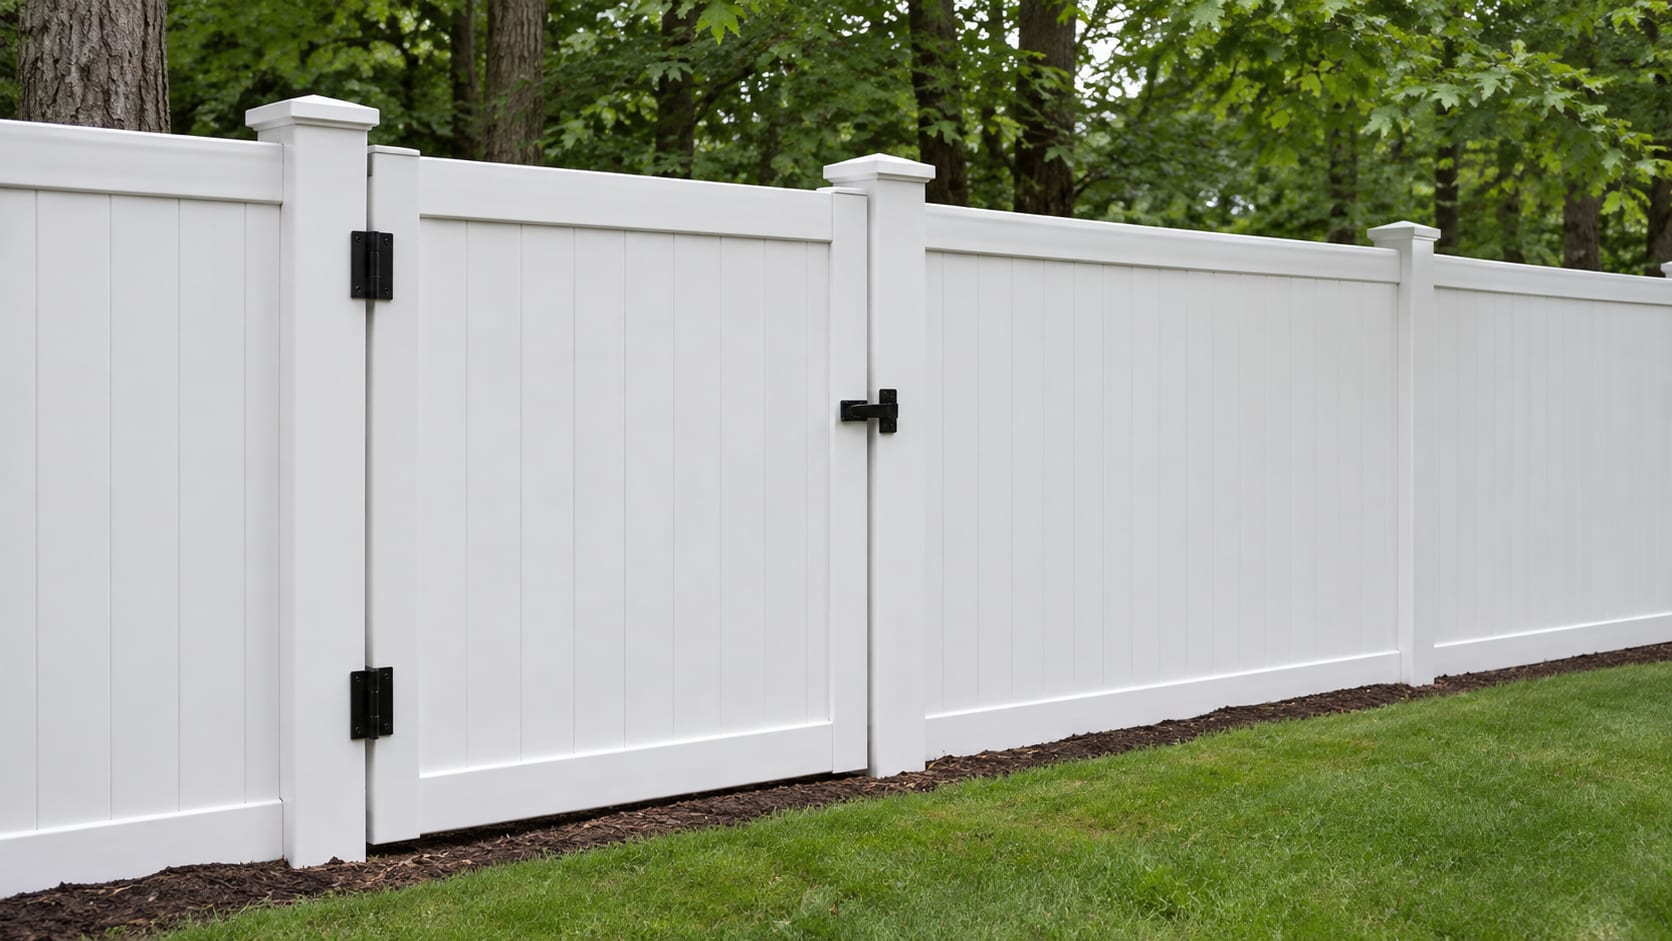
A gate that will not latch usually needs an alignment fix first. Check the hinge-side post, then the hinges, gate frame, ground clearance and latch. If the post is solid and the frame has sagged out of square, an anti-sag cable or approved brace may lift the latch-side corner. If the post has leaned, heaved, rotted or loosened, it must be reset or replaced.
The right repair depends on whether the gate is part of a pool barrier, how wide and heavy it is, and whether frost or wet soil has changed the opening. Adjust the latch last, after the post and frame are stable.
Key Takeaways
Check the post
A leaning, loose, heaved, or rotted hinge post needs structural repair before latch adjustment.
Brace the frame
A sound post and a gate that has racked out of square may respond to an anti-sag cable or approved rigid brace.
Protect the clearance
Side and bottom gaps depend on the gate manufacturer, hardware, grade, and intended use.
Treat pool gates differently
Pool gates must meet Connecticut barrier rules for height, openings, swing, self-closing, self-latching, and locking.
Price the cause
A loose hinge costs less to address than a reset post, welded frame, long driveway gate, or automatic operator.
Start with the hinge-side post
When a gate drags, swings open, rubs against the fence, or stops meeting the latch, close it slowly and watch the hinge side. A post that moves as the gate moves is carrying too much load or has lost support. A post that leans away from the opening changes the entire relationship between the gate and the latch.
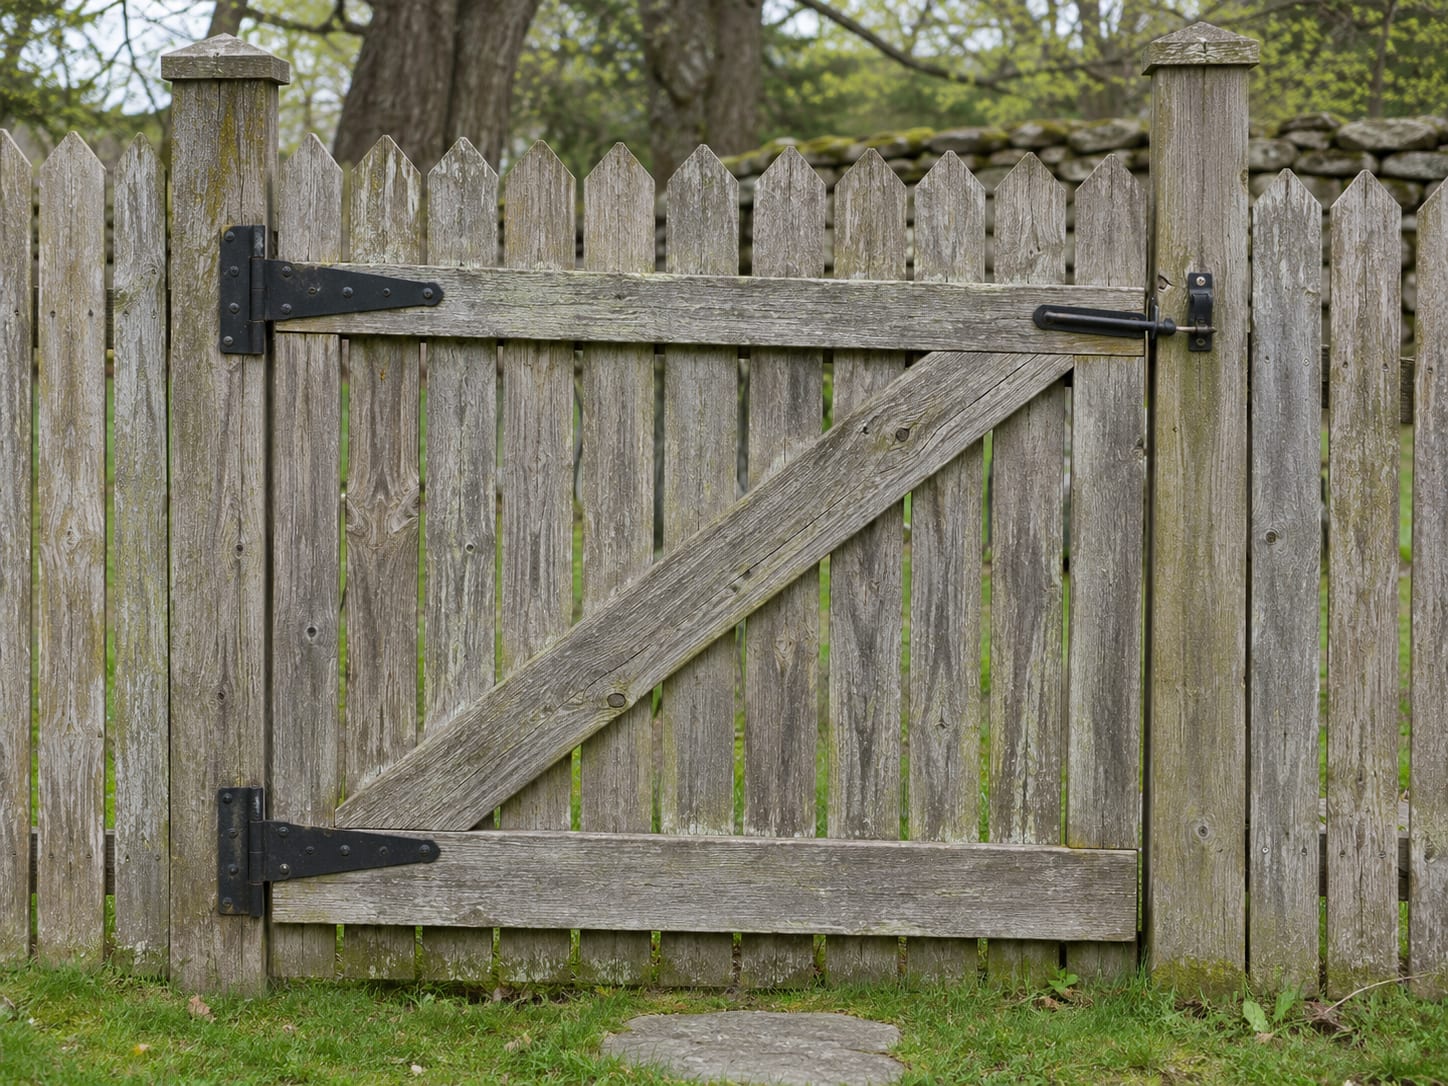
Frost heave is a common reason for a seasonal change in western Connecticut. Frozen soil expands around a post, then freeze-thaw movement can leave the post higher, looser, or out of plumb.
Penn State Extension identifies about 36 inches as a typical line-post depth for agricultural fencing and says corner and gateposts often need larger members set deeper, often about 48 inches, depending on soil and loading. Those are agricultural guidelines, not a universal residential gate requirement. See how deep fence posts should be in Connecticut, including frost line and footings before planning a new footing.
A gatepost also needs support from the fence section or gate frame. A freestanding post supporting a wide driveway gate carries a different load from a small garden gate attached to a properly framed fence. Ledge or wet soil can change how excavation and support are handled. If the post cannot be made plumb and solid, adding a cable to the gate will only hide the real problem for a short time.
Look for these signs:
- The post leans when the gate is open, or the hinges move where they attach to the post or frame.
- The lower hinge has pulled away from the post.
- The post is soft, split, or rotted near the soil.
- The gate closes only when you lift the latch side, or the latch and keeper sit at different heights.
- The gate frame looks like a parallelogram instead of a square.
For a gate, posts, and adjoining fence that have all been affected, read how to tell whether your fence needs repair or replacement.
Why gates sag, drop, and stop latching
A sagging gate is often a combination of load and movement. A gate that is too wide, tall, or heavy for its hinge post places more force on the upper and lower hinges. Loose or undersized hinges can develop play, and fasteners can pull out of weak wood, thin metal, hollow vinyl, or unsupported aluminum.
Wood can absorb moisture, swell, warp, or change shape after a wet season. The frame may then rack out of square even when the posts remain plumb. A missing diagonal brace, or a brace installed in the wrong load direction, allows the latch-side corner to fall. Grade can add another problem when a driveway or walkway rises toward one corner of the swing.
The first diagnostic question is whether the post is leaning or the gate itself is out of square. Support the latch-side corner at the height where it should close. If the latch lines up while the gate is supported, the frame may need bracing or rehanging. If the latch still misses and the post is moving, repair the support first.
For a gate attached to a residential fence system, the written estimate should identify the gate width, height, material, hinge type, post size, footing plan, intended clearance, and latch hardware. That way the quote addresses the cause rather than only the visible latch.
How to brace or rehang a sagging gate
If the posts are sound and the frame has racked out of square, support the latch-side corner at the desired height before installing a brace. A typical anti-sag cable runs from the upper hinge-side corner to the lower latch-side corner. Tightening the turnbuckle removes slack and pulls the low latch side upward.
The cable should attach to sound framing through the brackets, eye bolts, or fittings specified for that kit. Trex instructions for one anti-sag product place the upper fitting 5 1/2 inches below the top and the lower fitting 2 inches above the bottom. Those measurements apply to that product and should not be treated as universal dimensions. Trex anti-sag cable instructions show the sequence of propping the gate, attaching the fittings, pulling the cable taut, and removing remaining slack with the turnbuckle.
A rigid compression brace may work when the gate frame is designed to receive one. The brace must transfer compression between the correct corners and bear against sound framing. Decorative pickets, thin infill, or loose rails are not suitable structural attachment points.
Reset or replace a leaning, heaved, rotted, or undersized hinge post before you brace the gate. Hollow vinyl and aluminum posts may need a manufacturer-approved insert, stiffener, concrete fill, rebar, or another specified support. Use the approved method for the product rather than filling a post with an incompatible material.
A wide or heavy gate may need a manufacturer-approved gate wheel or roller to support part of the operating load. A wheel can reduce operating strain, but the hinge post still has to be properly supported.
Gate Repair Sequence
- 1
Inspect
Close and support the gate, then check the posts, hinges, frame, latch, strike, and ground clearance.
- 2
Stabilize
Reset or replace a failed post, repair the hinge connection, or reinforce a hollow post as specified.
- 3
Square
Support the low latch-side corner and correct a racked frame with an approved cable or rigid brace.
- 4
Rehang
Set the gate at the proper height and confirm that the swing clears the actual grade.
- 5
Finish
Adjust or replace the latch and keeper only after the gate is stable and aligned.
After structural work, operate the gate several times from fully open to fully latched. Confirm that the latch meets the keeper without lifting, pushing, or holding the gate.
Fixing gaps under and beside an outdoor gate
A gap under a gate may be intentional operating clearance, or it may show that the gate has dropped, the post has moved, or the grade was not accounted for. The actual ground matters. Grass, gravel, and snow all affect the clearance a gate needs to swing.
Manufacturer instructions control the side gaps. Published examples vary by product:
Hover or tap a row to highlight it.
| Gate or installation example | Published clearance |
|---|---|
| General gate installation guidance from Home Depot | About 1 inch is typical, with the hardware instructions controlling |
| Bufftech vinyl gate instructions | About 1 inch at the hinge side and 3/4 inch at the latch side |
| Another vinyl installation guide | About 1 1/2 inches at the hinge side and 1 1/4 inches at the latch side |
| Weatherables vinyl gate information | Approximately 2 inches under the gate and approximately 1 inch between two gates |
| Chain-link installation guidance | Set gateposts for the supplier’s specified opening and account for grade |
For a pet gate, reduce the gap by correcting the gate height, resetting the posts, adding a properly supported bottom rail, or attaching pet-safe welded wire or mesh to the frame. A threshold, curb, or narrow buried barrier may work where the site and gate design allow it. A gate that follows the grade can also reduce an opening, provided it remains square, supported, and easy to operate.
A gate that drags will not close a gap safely, because dragging increases the load on the hinges and can stop the latch from meeting the keeper. For chain link, a bottom rail can help keep fabric from being pushed outward, but it will not stop an animal from digging underneath.
For a chain-link opening, chain link fence repair for bent top rails, loose fabric and damaged posts can help you separate a damaged gate frame from a loose fabric or bent post problem.
Pool gates have separate requirements
If the gate is part of a pool barrier, treat a gate that will not close and latch as a safety repair. Connecticut identifies the 2022 Connecticut State Building Code as the current code, and that code adopts the 2021 International Swimming Pool and Spa Code.
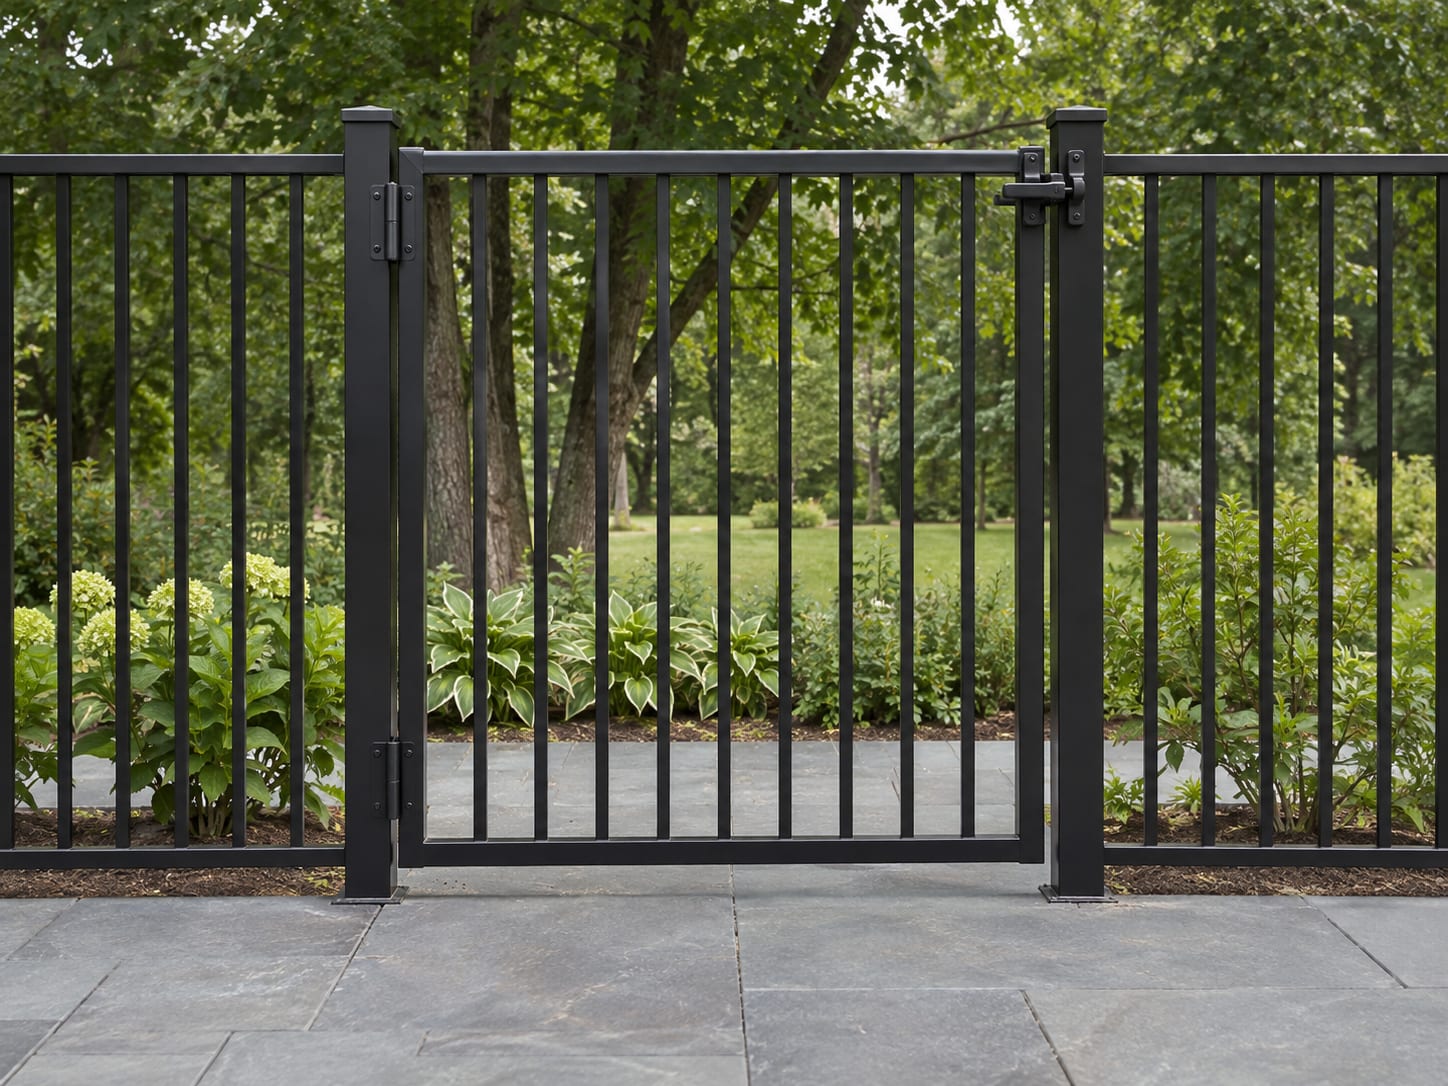
The applicable residential pool-barrier requirements start with a barrier at least 48 inches high and openings that do not allow passage of a 4-inch sphere. A pedestrian gate must open outward, away from the pool, be self-closing and self-latching, and accept a locking device.
The latch release has its own rules. When it is reached from outside the barrier, it is generally at least 54 inches above the finished floor or ground. If the only release is on the pool side and below 54 inches from the bottom of the gate, it must be at least 3 inches below the top of the gate, and openings within 18 inches of an inside latch release can be no larger than 1/2 inch in any dimension.
The Connecticut pool fence requirements for height, gates and permits provide related details. You can also read Pool Fence Materials Compared: Aluminum, Mesh, Glass and Vinyl when the existing gate cannot be repaired within the required barrier design.
The Consumer Product Safety Commission recommends no more than 2 inches under a pool barrier where the bottom rests on grass or gravel, and generally no more than 4 inches over a solid surface. Connecticut’s adopted code controls the enforceable requirements. A pet mesh panel or threshold must stay within the allowed openings and leave self-closing and self-latching operation intact.
Permits, town rules, and what to ask first
Ask the town which office handles the proposed work before you order materials or excavate. Zoning or Land Use may address height, location, setbacks, visibility, lot lines, and zoning approval. The Building Department may handle building permits and pool-barrier requirements. Inland Wetlands may be involved near wetlands or watercourses. Highway or public works staff may need to review a driveway entrance, sight line, sidewalk, or public right-of-way.
Call Before You Dig before digging for posts, footings, drainage, electrical service, or automatic gate equipment. A private utility line on the property may need separate locating. Do You Need a Permit for Fence Installation in CT? is a useful starting point, but the town handling your address decides the local permit path.
Connecticut fence requirements vary by town. Brookfield’s FAQ says fences under 7 feet do not require a building permit and taller fences require one. Brookfield’s zoning regulations state that fences under 8 feet may be built in residential districts without zoning approval, while fences 8 feet or higher require zoning approval and a certificate of zoning compliance. These are separate approval questions, so ask Brookfield which applies to your project.
Danbury publishes zoning regulations online and directs applicants to confirm the current adopted section with Planning and Zoning. New Milford asks applicants for a survey or plot plan showing the proposed structure, dimensions, and distances from property lines, and recommends checking Building, Inland Wetlands, Health, and Sewer requirements.
Bring the property address, zoning district, survey or plot plan, gate width and height, material, swing direction, photos of the opening, and information about any pool, driveway, wetland, watercourse, or shared boundary. Ask:
- Is a permit required for this address, and is it zoning approval, a building permit, or both?
- What height, setback, visibility, and property-line rules apply, and is a survey required?
- Does replacing an existing gate count as repair, replacement, reconstruction, or new work?
- Does the site need wetlands review, or does the gate affect a sidewalk, public right-of-way, or driveway sight line?
- Are there special requirements for a pool, farm, commercial, industrial, or automatic gate?
For contract work, Connecticut’s Department of Consumer Protection says residential home-improvement contractors must be registered. Its contract guidance calls for written information about the contractor, work dates, price, materials, permit responsibility, cleanup, and payment schedule. Changes should be put in writing.
What gate repair may cost
National figures provide context only and are not Connecticut quotes. The price changes with the cause, gate size, material, access, excavation, hardware, and whether the gate must be removed and rehung.
Hover or tap a row to highlight it.
| Repair type | National figure and source |
|---|---|
| Fence gate repair | About $110 to $440 per gate in 2026, Angi |
| Wood gate repair | About $100 to $400 per gate in 2025 data, HomeAdvisor |
| Vinyl gate repair | About $100 to $1,980 per gate, HomeAdvisor |
| Wrought-iron gate repair | About $100 to $400 per gate, HomeAdvisor |
| Wrought-iron fence repair | About $40 to $250 per linear foot, HomeAdvisor |
| Automatic gate repair | About $550 to $1,500 per project in 2026, Angi |
Automatic gate figures apply to automatic systems and cover more than ordinary manual gate repairs. A driveway gate with an operator may require work on power, sensors, travel limits, rollers, tracks, or control hardware. See automatic driveway gate problems from power outages and cold weather to common fixes if the gate has an opener.
A written estimate should state whether the price is per gate, per post, per project, per hour, or per linear foot. It should identify labor, materials, post excavation, concrete removal, welding, hardware, haul-away, and any permit responsibility. A rotten post, concrete-set post, welded metal frame, long driveway gate, specialty hinge, or automatic operator can change the price more than the latch itself.
The decision is sometimes repair versus replacement. If the gate frame, posts, and hardware can be made sound, repair may be practical. If several components have failed or the gate is too heavy for its support, replacement may provide a better result. Wood fence repair for broken boards, rotted rails and loose pickets may be the next step for a wood gate connected to a failing fence.
Frequently Asked Questions
My gate won't latch. What can I do to fix it?
Start by checking whether the hinge-side post is plumb and solid, then see whether the hinges move on their fasteners and whether the latch meets the keeper at the same height. Clear debris, lift the latch side, and adjust the latch only after the gate and posts are stable. A moved post needs resetting or replacement.
What are the common causes of a gate sagging?
Common causes include a leaning or rotted hinge post, loose hinges, a gate frame that has racked out of square, missing or incorrectly oriented bracing, excessive gate width or weight, wood movement, and grade interference. A freestanding post without enough support from the adjoining fence can also flex under load.
How can I brace a sagging gate?
Support the latch-side corner at the height where it should close, then install an anti-sag cable from the upper hinge-side corner to the lower latch-side corner and tighten the turnbuckle. A rigid compression brace may work when the frame is designed for it. Reset a failed hinge post before bracing the gate.
How to fix a gate that's dropped?
If the post is sound, repair or replace loose hinges, square the frame, rehang the gate, and confirm the ground clearance. If the post has leaned, heaved, rotted, or loosened, reset or replace it before adjusting the latch. A gate wheel may help a wide gate, and the post still needs proper support.
How to fill in a gap under an outdoor gate?
First determine whether the gap comes from normal operating clearance, a sloped grade, or a dropped gate. Correct the gate height or post alignment, then use a supported bottom rail, pet-safe mesh, threshold, curb, or buried barrier where the design permits. Do not let the gate drag, and check opening and clearance requirements before altering a pool barrier.
My fence gate isn't closing. What can I do?
Remove stones, ice, vegetation, and other obstructions, then check the post, hinges, frame, side gaps, grade, and latch. Lift the latch side to see whether the gate closes when supported. If it does, repair the sag or post movement before replacing the latch.
Which way should a gate brace go?
For a typical anti-sag cable, run it from the upper hinge-side corner to the lower latch-side corner. A rigid compression brace follows the frame design and may use a different direction. The manufacturer’s instructions control, and the brace must attach to sound framing.
Gate Repair Check
1. What should you inspect first when a gate will not latch?
2. Where does a typical anti-sag cable run?
3. What does a cable fail to repair?
4. What must a residential pool gate do?
Pick an answer to begin.
Final Thoughts
A gate that will not latch is often telling you where the load has moved. Check the post, hinges, frame, grade, clearance, and latch in that order. If the gate is part of a pool barrier, restore compliant operation before relying on it. A written estimate from My Fence Guy can identify whether the work calls for hardware adjustment, bracing, rehanging, post replacement, or a new gate.
Call us at (203) 746-1100 for a free estimate, or reach out through our contact page.
Gate Repair Terms
Tap a term to see what it means.
Hinge-side post. The post that carries the gate hinges and most of the gate’s operating load.
More about fences
Estate Gate Columns and Pillars: Stone, Brick and Steel Posts for Driveway Gates
Steel posts, brick or stone pillars for a driveway gate: footings below Connecticut frost depth, hinge plates and anchors, conduit for an opener, and costs.
Read the guide to Estate Gate Columns and PillarsGate Installation: Walk Gates, Double Gates and Driveway Gates, Step by Step
Size a gate from the widest thing that must pass through, then set heavier posts and the right hinges. Walk, double and driveway gates, step by step.
Read the guide to Gate InstallationWood Fence Repair: Broken Boards, Rotted Rails and Loose Pickets
Wood fence repair starts with the posts and rails. Replacing broken boards, fixing rotted rails and loose pickets, choosing rated lumber and fasteners, costs.
Read the guide to Wood Fence Repair